(1).jpg)
Vue.js Directives: A Beginner's Guide
If you’ve just started learning Vue.js or have been using it for a while, then you are definitely familiar with Vue.js directives. This feature is key to building interactive web applications with ease.
Vue.js directives are special HTML attributes that tell Vue what to do with a DOM element. They are usually prefixed with the v- symbol, and can be used to bind data, add event listeners, control the rendering of elements and so much more.
In this article, we will take a deep look at Vue.js directives and their use cases and explore the possibilities of including our very own directives.
Common Vue.js Directives
Vue.js provides a variety of directives for different use cases. Let's explore some of the most commonly used ones:
1. v-bind
The v-bind directive, often abbreviated as : , allows you to bind an attribute to an expression. It's useful for dynamically setting HTML attributes, such as src or href.
<img v-bind:src="imageURL">
<a v-bind:href="linkURL">Visit our website</a>
2. v-model
The v-model directive is used for two-way data binding. It binds an input element's value to a variable, allowing changes in the input to update the variable, and vice versa.
<input v-model="username" type="text">
<p>Hello, {{ username }}!</p>
3. v-for
The v-for directive is used for rendering lists of items. It iterates over an array and creates elements for each item.
<ul>
  <li v-for="item in items">{{ item }}</li>
</ul>
4. v-if, v-else-if and v-else
These directives are used for conditional rendering. Here's how they work:
v-if: It displays an element only if a condition is true. If the condition is false, the element won't be shown.v-else-if: This directive allows us to set another condition in case the first one is false. It acts as a backup condition.v-else: If none of the previous conditions are met (v-if and v-else-if), v-else comes into play and displays an element. It's like a "last resort" condition.
Together, these directives give us control over what appears on our webpage depending on different situations and conditions.
<div v-if="type === 'A'">
  A
</div>
<div v-else-if="type === 'B'">
  B
</div>
<div v-else-if="type === 'C'">
  C
</div>
<div v-else>
  Not A/B/C
</div>
5. v-on
The v-on directive, often abbreviated as @, is used to listen to DOM events and trigger methods or expressions when those events occur.
<button v-on:click="sayHello">Click me</button>
<button @mouseEnter="sayHello">Please hover</button>
You should definitely checkout the Vue.js documentation for extensive information on using the v-on directive.
6. v-show
The v-show directive is similar to v-if but toggles the element's visibility using CSS display property, instead of adding/removing it from the DOM.
<p v-show="isVisible">This text can be hidden and shown.</p>7. v-html
The v-html directive updates the element's innerHTML.This can be used in cases where data is in an html format. Just be careful with the directive as it can lead to security threats. Make sure to only use it to display trusted data!
<script setup>
const message = ref('<p>This is my message</p>')
</script>

<template>
<div v-html="message"></div>
</template>
Other Vue.js Directives
8. v-once
The v-once directive renders the element/component once and only once. After the initial render, this element and all of its children will be treated as static content.
This can be great for optimizing render performance in your Vue.js application.
<template>
  <p v-once>{{ msg }}</p>
</template>
9. v-memo
The v-memo directive in Vue.js memoizes a template sub-tree, storing previous render results to accelerate future renders. It relies on a dependency array and re-renders only when values in the array change, ensuring updates occur selectively based on specified dependencies. In essence, it optimizes rendering by updating the sub-tree only when necessary.
<template>
  <p v-memo="[msg]">{{ msg }}</p>
</template>
10. v-cloak
The v-cloak directive can be used to hide uncompiled templates until the component is ready. This may be necessary when building Vue.js applications using a CDN which contains a no-build step.
<div v-cloak>
  {{ message }}
</div>
Creating Custom Directives
While Vue.js provides a set of built-in directives, with what we have stated above, you can also create your own custom directives to encapsulate complex behavior and reuse it throughout your application. Creating custom directives is an advanced topic, but it allows you to extend Vue.js's capabilities to suit your specific needs.
Let’s look at a basic example and I am sure you will grasp the conceplt from there.
In our example, we will have a list and for each item in the list we will apply a random text color to our heading.
Let’s begin with displaying our list
<script setup>
import { ref } from 'vue'

const countries = ref(
  [
    {
      country: 'Ghana',
      capital: 'Accra'
    },
    {
      country: 'Nigeria',
      capital: 'Abuja'
    },
    {
      country: 'England',
      capital: 'London'
    },
    {
      country: 'Spain',
      capital: 'Madrid'
    }
  ]
)
</script>

<template>
  <div class="box" v-for="item in countries">
    <h1>{{item.country}}</h1>
    <p>{{item.capital}}</p>
  </div>
</template>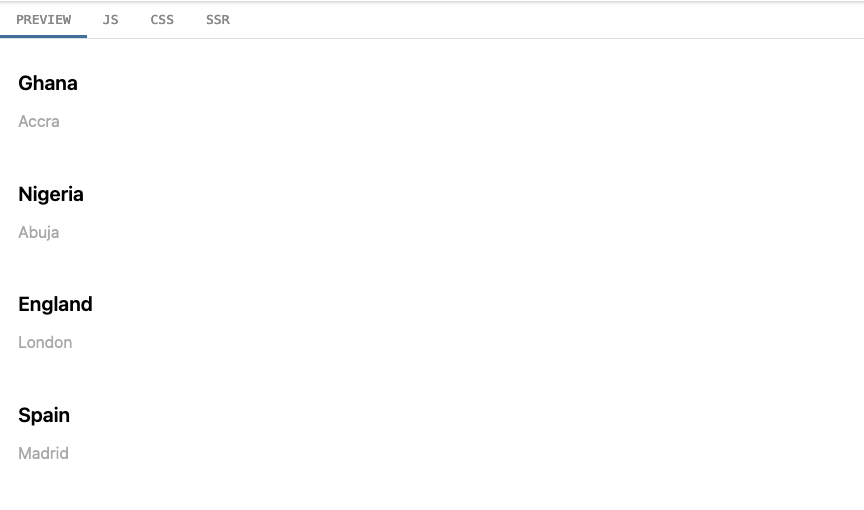
Now that our list is displaying perfectly, let's add our custom directive now. For creating our custom directives, Vue offers lifecycle hooks that we can leverage, just like for our Vue.js components.
const vColor = {
  mounted: (el) => el.style.color = `#${Math.floor(Math.random() * 16777215).toString(16)}`
}
Our above snippets grabs our element when the component mounts to the DOM and applies a random text color.
With the directive defined we’re almost done. All that’s left is to use it in our template.
<template>
  <div class="box" v-for="item in countries">
    <h1 v-color>{{item.country}}</h1>
    <p>{{item.capital}}</p>
  </div>
</template>
Let’s check if it works

Works perfectly!
Now, there is a slight drawback to this approach: we are limited to using our newly created directive only within the component where it was originally created. However, if your intention is to use it exclusively within a single component, then this approach is perfectly suitable.
But, let's take it a step further. With our built-in Vue.js directives, we can apply them anywhere in our application without the need for explicit declaration. So, why not explore the possibility of globally declaring our custom directive as well?
//main.js
const app = createApp({})

// make v-focus usable in all components
app.directive('color', {
  mounted: (el) => el.style.color = `#${Math.floor(Math.random() * 16777215).toString(16)}`
})
And there you have it! Our v-color directive has been declared globally and is now available for use across multiple components.
Conclusion
Vue.js directives are a foundational component in the construction of dynamic and interactive web applications using Vue and are perfect for encapsulating shared functionality that can be used over and over throughout an app. They streamline DOM manipulation, simplify data binding, and offer elegant solutions for a wide range of common use cases.
In this article, we've explored some of the core built-in directives and introduced the concept of custom directives. Armed with a robust understanding of Vue.js directives, you'll be well-prepared to craft engaging and responsive Vue applications tailored to your project's specific needs.
For those eager to delve deeper into this topic and I am sure you are, we offer an exciting course: "Vue.js 3 Custom Directive Course." This comprehensive course equips you with the knowledge and skills needed to create your own custom Vue.js directives, complete with the ability to incorporate arguments and modifiers. Throughout the course, you'll embark on a journey where we build various directives to demonstrate the incredible potential and versatility of custom Vue.js directives. Don't miss out—enroll now and elevate your Vue.js proficiency by crafting your own custom directives.
Article originally published at Vueschool.io